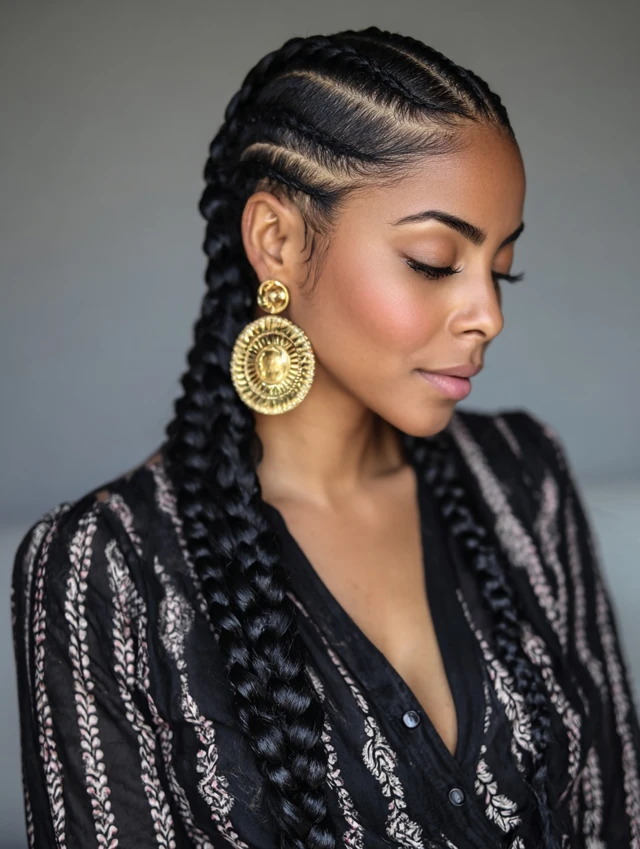
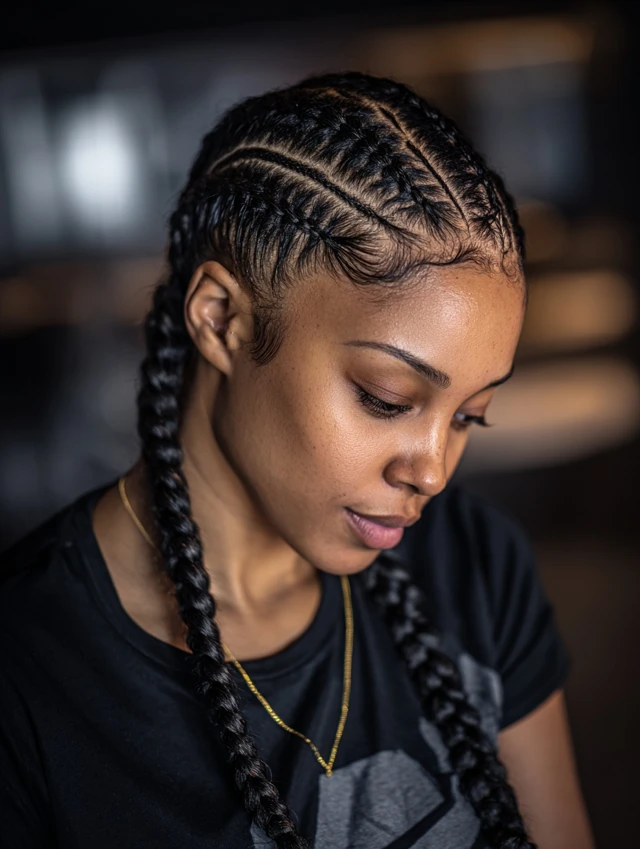
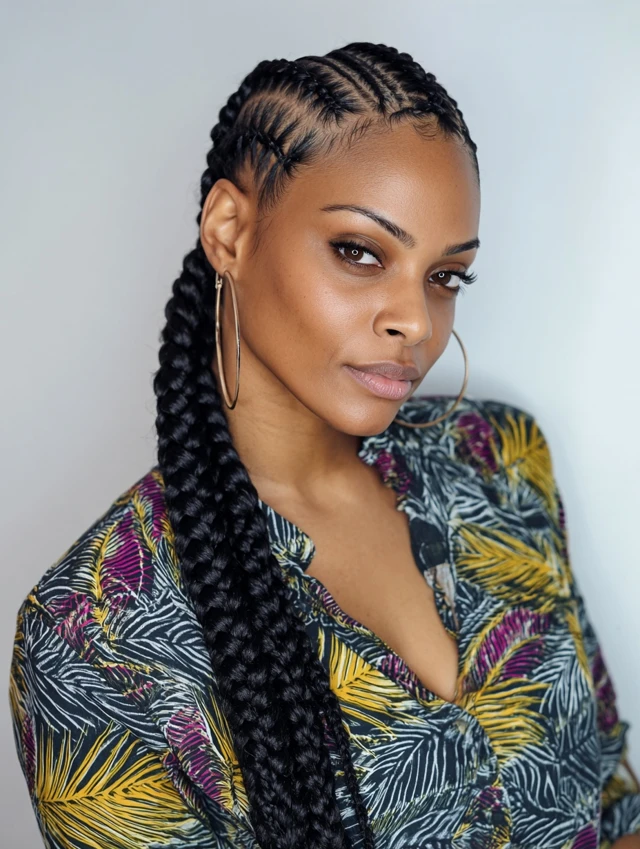
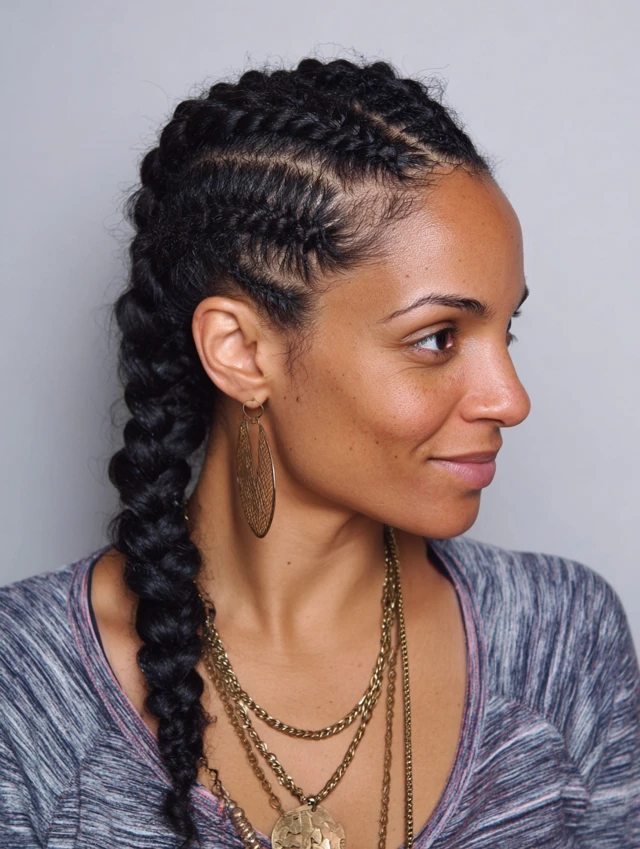
Cornrows are a classic, versatile, and protective hairstyle perfect for beginners who want a neat and stylish look without heat. They work on all hair textures — straight, wavy, curly, or coily — and are ideal for school, work, or casual outings.
The best part?
Cornrows protect your natural hair while giving you a polished, low-maintenance style that can last for weeks with proper care.
If you’re new to cornrows, this guide will take you through easy, step-by-step beginner styles.
Why Cornrows Are Perfect for Beginners
Cornrows are a great choice because they offer:
Protective Styling
Keeps natural hair tucked away, reducing breakage.
Low Maintenance
Once braided, cornrows can last 1–3 weeks with minimal daily styling.
Versatility
Straight-back, zig-zag, or patterned braids — the possibilities are endless.
Works on All Hair Types
Fine, thick, curly, or coily hair can hold cornrows beautifully.
Cornrows = protective + stylish + beginner-friendly.
The Beginner Cornrow Formula
To create simple cornrows, focus on:
Sectioning Hair:
Divide hair into clean, manageable sections.
Braid Size:
Small, medium, or large depending on desired style and ease.
Tension:
Keep braids firm but not too tight to protect scalp health.
Finishing Touch:
Use hair ties or edge control for a neat, polished look.
Step-by-Step Cornrow Styles for Beginners
Here are easy cornrow styles you can try at home:
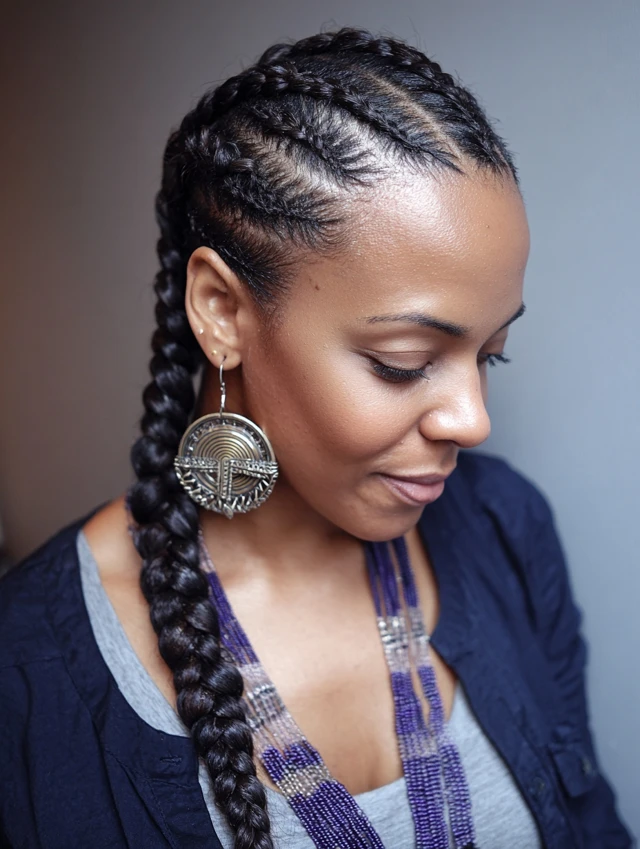
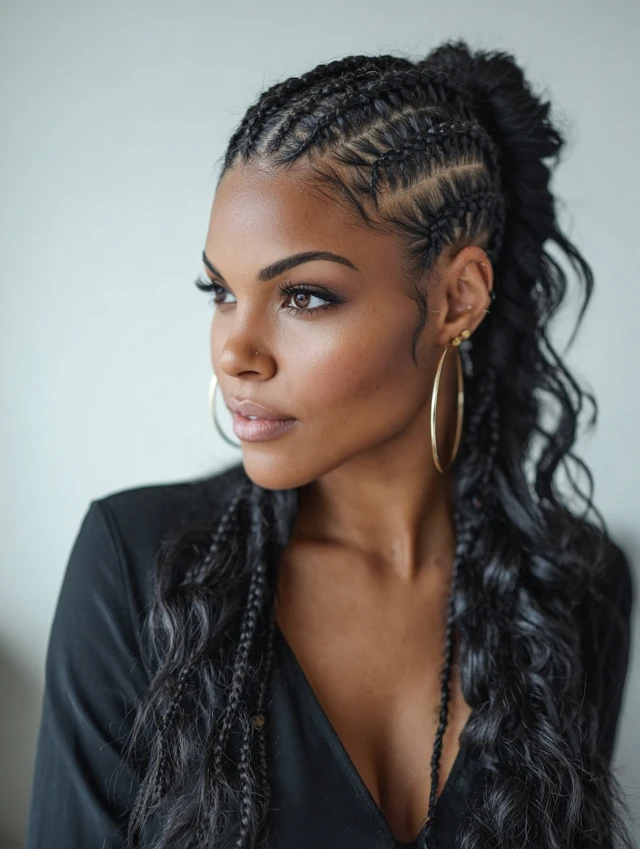
1. Classic Straight-Back Cornrows
Step 1: Part hair into sections from the hairline to the nape.
Step 2: Take the first section, divide it into three strands.
Step 3: Begin braiding close to the scalp, adding hair as you go along.
Step 4: Continue braiding to the end and secure with a small elastic.
Step 5: Repeat for each section until all hair is braided.
1
2
3

4
Best For:
School, work, or casual everyday wear.
2. Side Cornrows
Step 1: Part hair to one side.
Step 2: Take small sections along the side and braid close to the scalp.
Step 3: Leave the rest of the hair loose or braid into a ponytail.
1

2

3
4

Best For:
A stylish, asymmetric look that’s easy to manage.
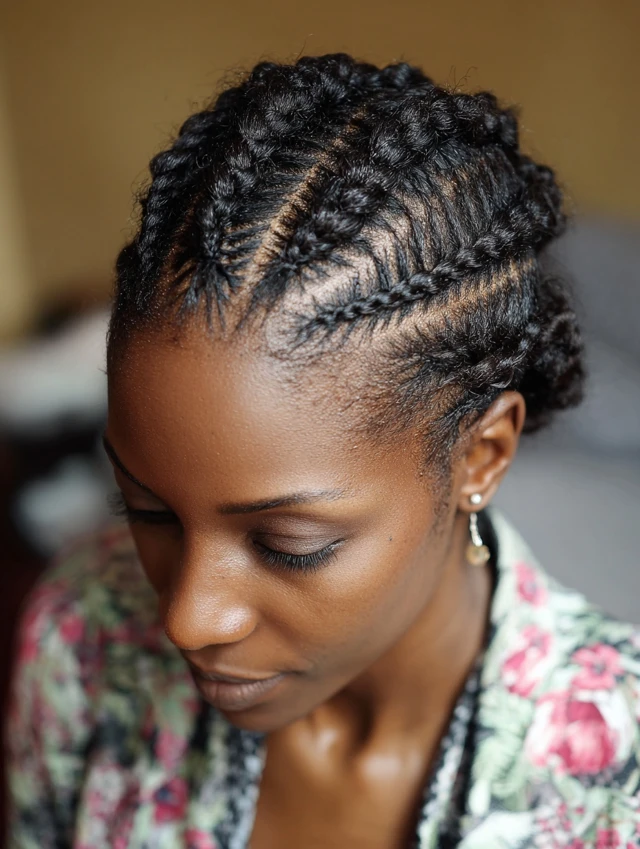
3. Zig-Zag Cornrows
Step 1: Part hair in a zig-zag pattern using a rat-tail comb.
Step 2: Divide sections and start braiding close to the scalp.
Step 3: Secure ends with small elastics.
1
2
3
4

Best For:
Adding a fun, creative twist to basic cornrows.
4. Half-Up, Half-Down Cornrows
Step 1: Part the top half of hair and cornrow it straight back.
Step 2: Leave the bottom half loose or curl naturally.
Step 3: Add hair accessories if desired.
1
2
3

4

Best For:
Casual, school-friendly looks that are easy and stylish.
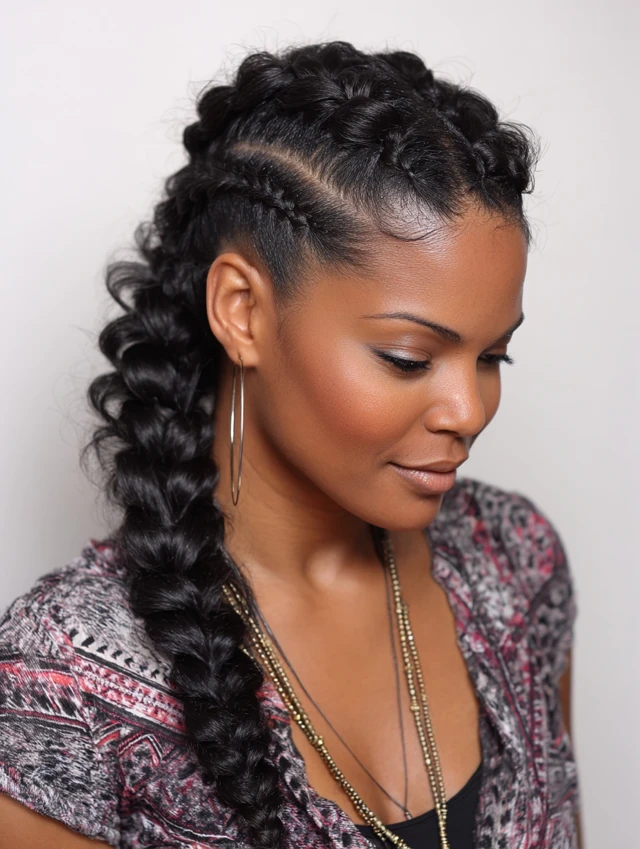
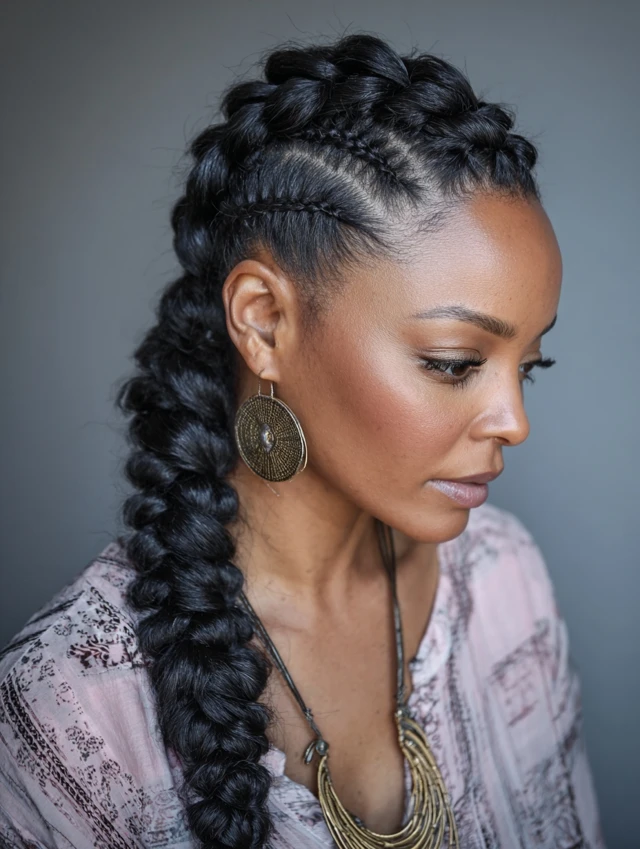
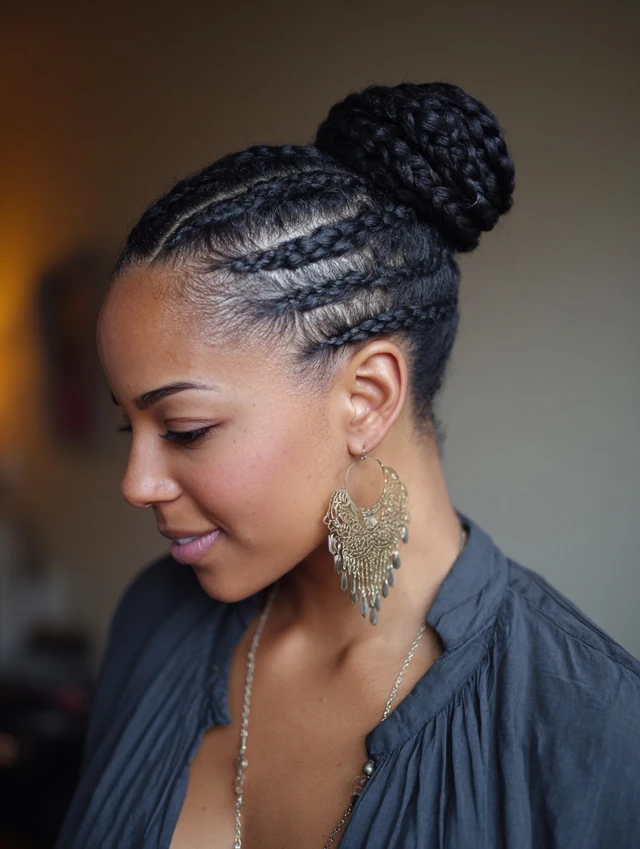
5. Cornrows into a Bun or Ponytail
Step 1: Cornrow hair straight back or in a side pattern.
Step 2: Gather all braids into a high or low ponytail or bun.
Step 3: Secure with an elastic or scrunchie.
1
2

3

4

Best For:
Protective styling for school, work, or sports.
How to Maintain Beginner Cornrows
Keep your braids looking neat and healthy with:
- Lightly moisturizing scalp with oil or leave-in spray
- Covering hair at night with a satin scarf or bonnet
- Avoiding excessive manipulation or tension
- Washing gently when necessary, focusing on scalp care
- Retouching edges for a fresh look if needed
Healthy hair = long-lasting, neat cornrows.
Final Thoughts: Easy, Stylish & Protective
Cornrow hairstyles for beginners are perfect for low-maintenance, stylish, and protective hair. From straight-back and side cornrows to zig-zag patterns and buns, these styles are versatile, cute, and beginner-friendly.
With these step-by-step instructions, you’ll be able to create neat, trendy cornrows confidently at home.
Because protective hair shouldn’t be complicated —
cornrows make it simple, stylish, and everyday-ready.